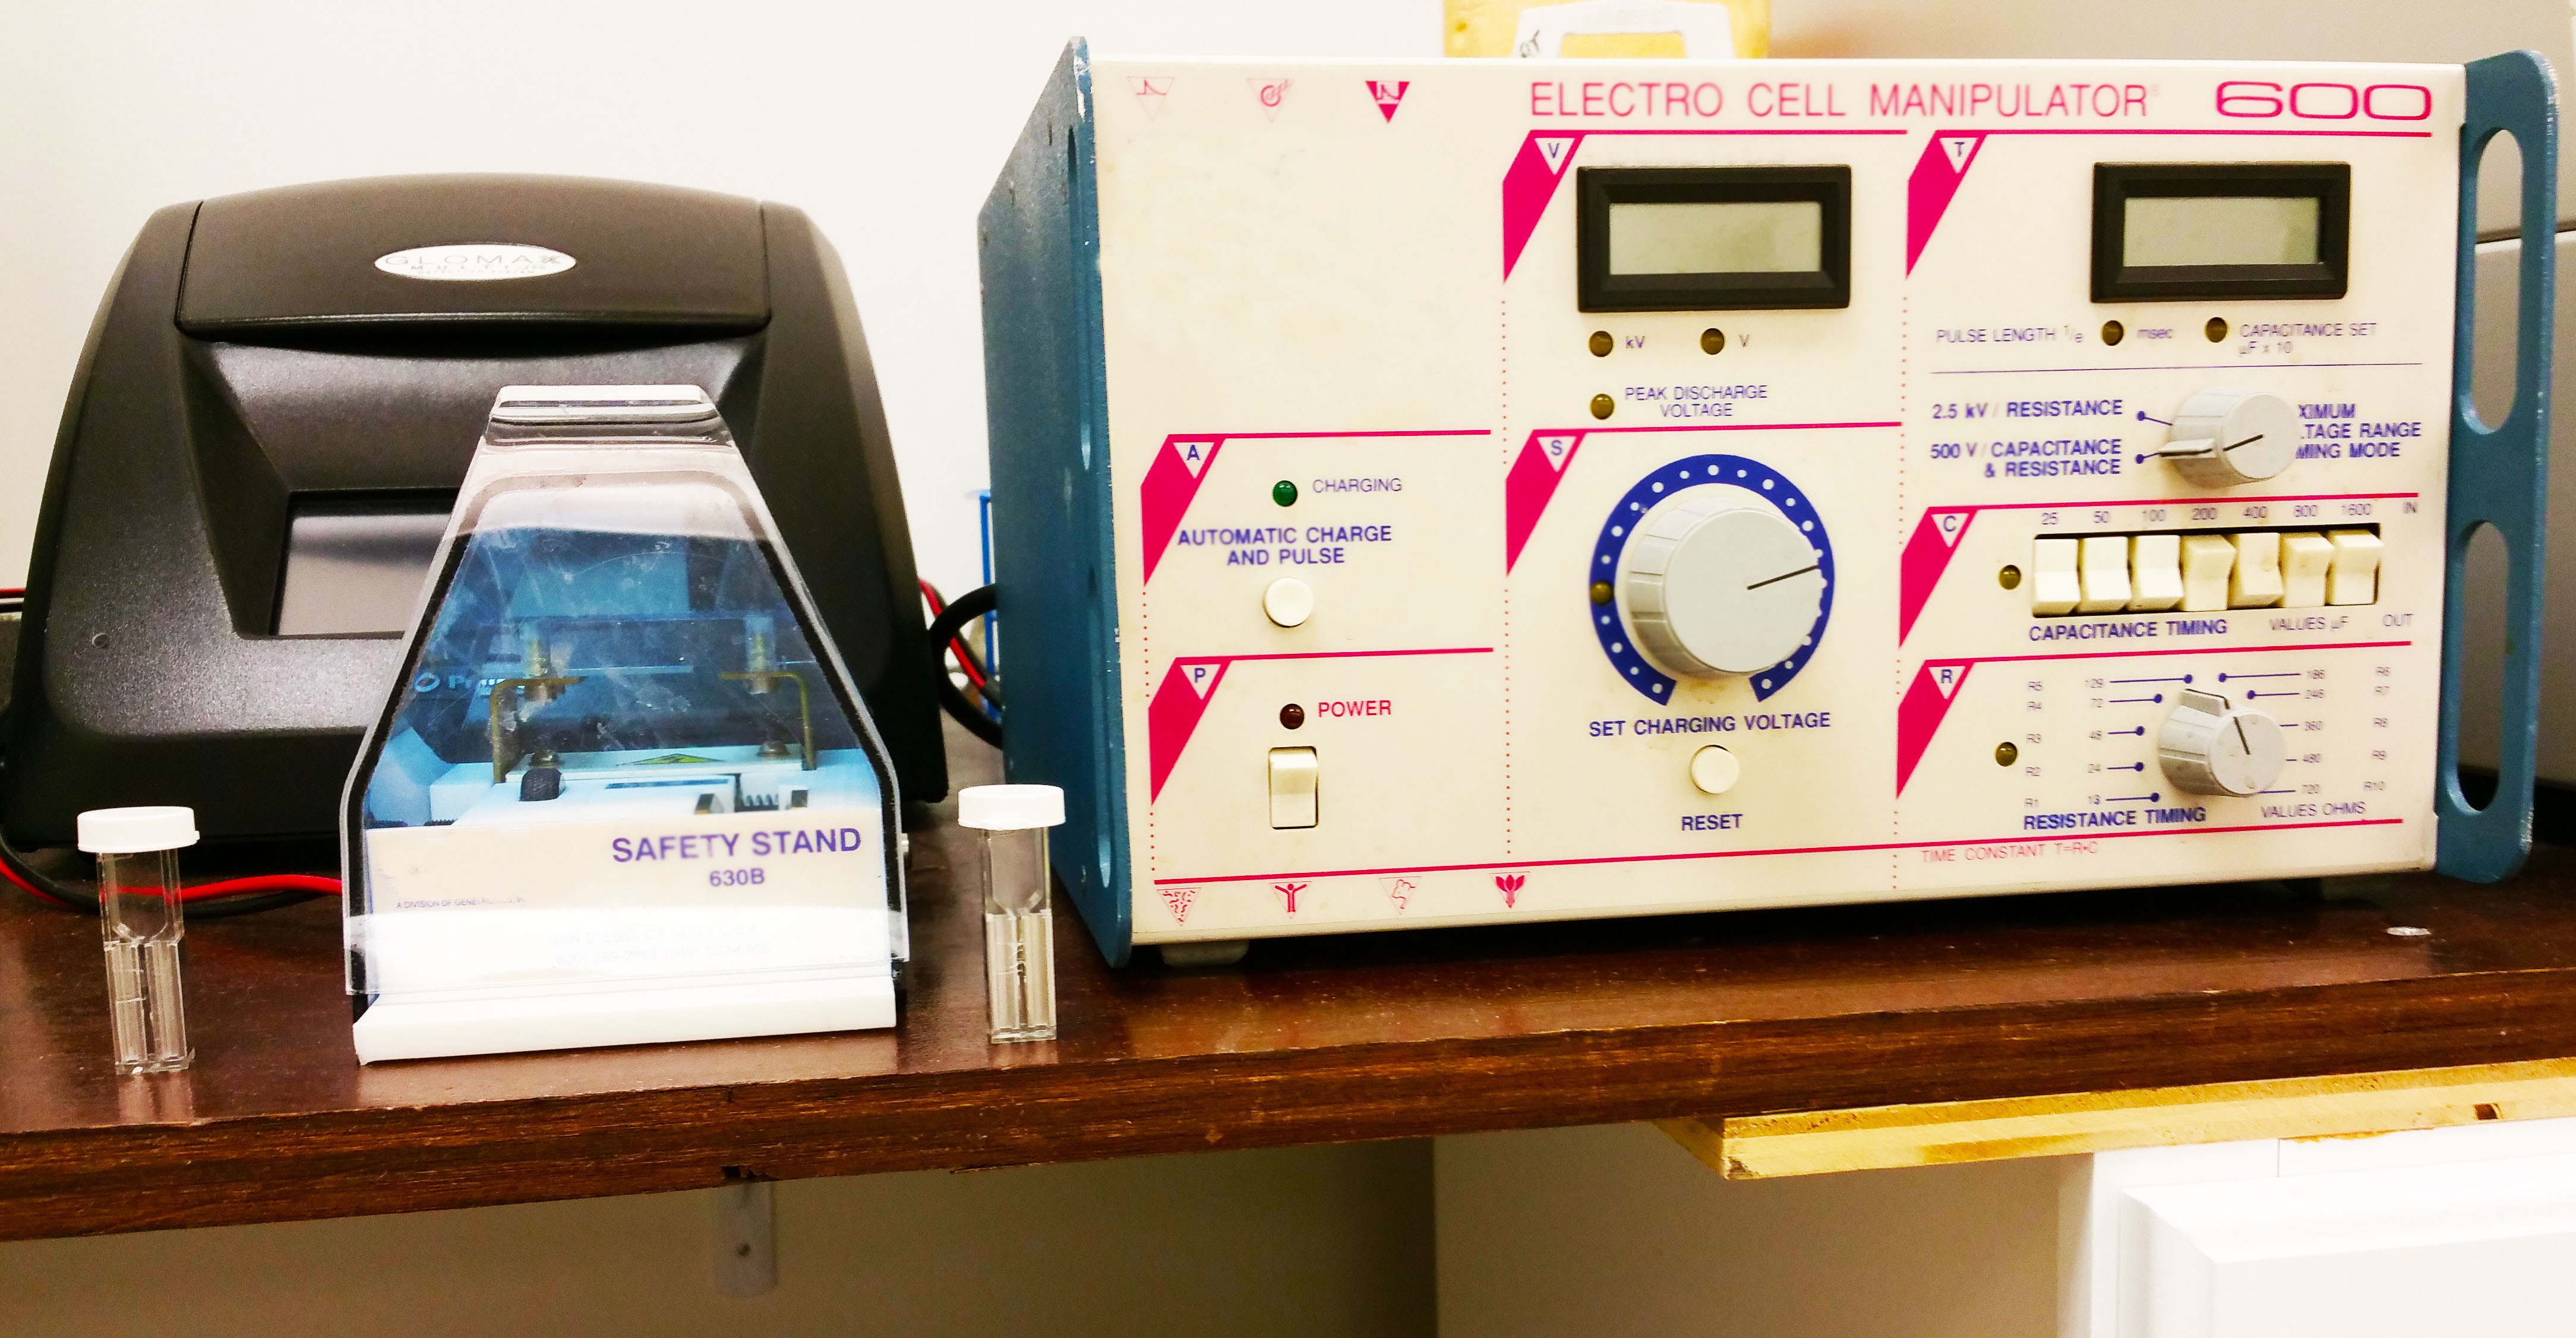
Press down. Cross fingers. Squint eyes in anticipation – annnd SNAP! Electroporation failed again. Electroporation is one of those techniques that can feel almost confrontational. You’ve been careful about salinity. You’ve avoided the bubbles, but that snap just aims to taunt you until you develop a complex.
Ok, so what do we do about this? First of all, if this is happening to you and you’re constantly frustrated, you’re not alone! As is common with my articles, I’ll take you through a few solutions that might possibly help you get the upper hand in the dreaded electroporation.

1.Desalting DNA:
As I mentioned before, you’re probably very careful about the salinity but a paper by Christina Schlaak and her team explains that your desalting method after ligation really matters. According to the paper, given the electric field and size of the cuvette, it doesn’t take much ligation mixture to cause your electroporation to fail. While a lot of researchers will point to drop dialysis or ethanol precipitation as the choice for desalting, Schlaak’s research found that microcolumn purification is in many cases the more effective approach.
2.Ice Your Cuvettes Right Before:
It’s pretty self-explanatory, but remember to keep your cuvettes cold.
3.Store Cuvettes in the Freezer:
Some researchers swear by having cuvettes as cold as possible. This means storing cuvettes in the freezer until they’re ready for use, keeping them on ice and even icing for a few minutes before electroporation.
4.It Could Be a Matter of Concentration:
So maybe you think that your DNA is too concentrated. And that’s possible, but another possible situation is that your cells are too concentrated. You might want to consider diluting your cells and trying again.
5.Glycerol Impurities:
This doesn’t happen often, but it’s possible that impurities in glycerol raise the conductivity and cause your electroporation to arc.
6.Understanding Bubbles:
Of course you do the bench tap to minimize those bubbles, but it’s a good idea to have in the back of your mind what the reason is. Think of your electroporation like a strike of lightning. The liquid in your cuvette provides less resistance and allows for a more direct shock. Air bubbles reduce that direct impact, causing an uncontrolled shock to occur. So tap out those bubbles and be sure not to have any splatters.
7.Check Your Voltage Against Your Cuvette Size:
The size of your cuvette is going to be a factor when optimizing voltage and field strength. For instance, let's say you're used to using a 2mm (.2cm) gap cuvette with a voltage of 900 and a field strength of 4.5 kV/cm but for some reason, for this experiment, all you can find is a 1mm cuvette. You will have to change your settings to maintain the same field strength. In this case, you would want half the voltage or 450V.
8.Check Your Electroporator Against the Protocol:
The best analogy here is the classic case of microwaving and then burning your popcorn. The bag’s instructions tell you, for example, to microwave it for 2:30, but it always comes out with more kernels and less popped corn. If you have a popcorn button, you’re supposed to use that instead, and even that doesn’t work. So you have to sacrifice a few bags to figure out the best settings. Likewise, the settings in your protocol might be for a specific electroporator, which differs from yours. This means you might want to try tweaking your method to get it just right.
9.Check Your Competent Cell Preparation:
If you’re making your competent cells and time after time, your electroporation arcs, then it might be the result of your competent cell preparation.
10.Don’t Touch the Aluminum Electrodes:
Be mindful about the location of the electrodes. Touching them can increase the sample temperature which puts you at risk for the dreaded SNAP.
11.Check Your Cuvettes for Cracks or Aging:
Old cuvettes could be your problem. Check them for cracks in the plastic.
12.Snap Doesn’t Always Mean the End:
This is more of a last resort to consider, especially if you’ve burned through everything. Even if your electroporation arced, it’s possible that you might still have a transformed clone.
With 12 options here, you might wonder, “where should I start first?” Let’s begin by categorizing these steps into: Preparation Best Practices, Execution Best Practices, Variables/Tweaks.
Preparation Best Practices: These are things you might not be able to fix for a sample in process, but you can adopt for the next go around.
Execution Best Practices: These are tips that you want to make sure you’re following during the electroporation process; however, in some cases it might be too late for a sample in process.
Variables/Tweaks: These are the tips you might want to focus on for something you have currently running.

There you have it. Now you know what to try and when to try it. Now go and conquer your next electroporation!
Schlaak, C., Hoffmann, P., May, K., & Weimann, A. (2005). Desalting minimal amounts of DNA for electroporation in E. coli: A comparison of different physical methods. Biotechnology Letters, 27(14), 1003-1005. doi:10.1007/s10529-005-7867-z
 Karen Martin GoldBio Marketing Coordinator |
"To understand the universe is to understand math." My 8th grade math teacher's quote meant nothing to me at the time. Then came college, and the revelation that the adults in my past were right all along. But since math feels less tangible, I fell for biology and have found pure happiness behind my desk at GoldBio, learning, writing and loving everything science. |
Category Code: 88253 79103 79108 79107


